이번에는 로그인 화면에서 홈 화면으로 넘어가도록 해보자
Future<UserCredential?> signIn(String email, String password) async {
  try{
    final credential = await FirebaseAuth.instance.signInWithEmailAndPassword(email: email, password: password);
    print(credential);
    return credential;
  } on FirebaseAuthException catch (e) {
    if (e.code == "user-not-found"){
      print(e.toString());
    } else if (e.code == "wrong-password"){
      print(e.toString());
    }
  } catch (e) {
    print(e.toString());
  }
}
이렇게 만들어주자
아래쪽은 이렇게 구현하
child: MaterialButton(
  onPressed: () async {
    if (_formKey.currentState!.validate()){
      _formKey.currentState!.save();

      final result = await signIn(emailTextController.text.trim(), pwdTextController.text.trim());
      if (result == null){
        if (context.mounted){
          ScaffoldMessenger.of(context).showSnackBar(SnackBar(content: Text("로그인 실패")));
        }
        return;
      }

      if (context.mounted){
        context.go("/");
      }
    }
  },
  height: 48,
  minWidth: double.infinity,
  color: Colors.red,
  child: const Text(
    '로그인',
    style: TextStyle(
      color: Colors.white,
      fontSize: 18,
    ),
  ),
),
이러면 로그인이 잘 된다.
이제 구글 계정으로 로그인을 해보자
Future<UserCredential?> siginInWithGoogle() async{
  // 로그인을 구글로 하면 googleUser에 구글 계정이 들어온다
  final GoogleSignInAccount? googleUser = await GoogleSignIn().signIn();
  final GoogleSignInAuthentication? googleAuth = await googleUser?.authentication;

  final credential = GoogleAuthProvider.credential(
    accessToken: googleAuth?.accessToken,
    idToken: googleAuth?.idToken,
    // 이 둘 다 필요하다
  );

  return await FirebaseAuth.instance.signInWithCredential(credential);
  // 이렇게 해서 파이어베이스에 정보등록을 한다.
}
const Divider(),
InkWell(
  onTap: () async{
    final userCredit = await siginInWithGoogle();
    // 이걸로 로그인 하면 위의 googleUser에 값이 들어온다.
  },
  child: Image.asset("assets/btn_google_signin.png"),
),
이 2개를 이용해서 구글 로그인을 하자

로그인을 한번 하고 나면 두번째에 이렇게 계정 선택을 할 수 있다.

파이어베이스로 들어와서 프로젝트 설정을 보자.
이때 인증서 지문을 추가해야 한다.
디지털 지문 추가를 누르자

플러터로 돌아와서 open android module in android studio를 선택하자.
이런 새로운 창으로 들어오게 되면
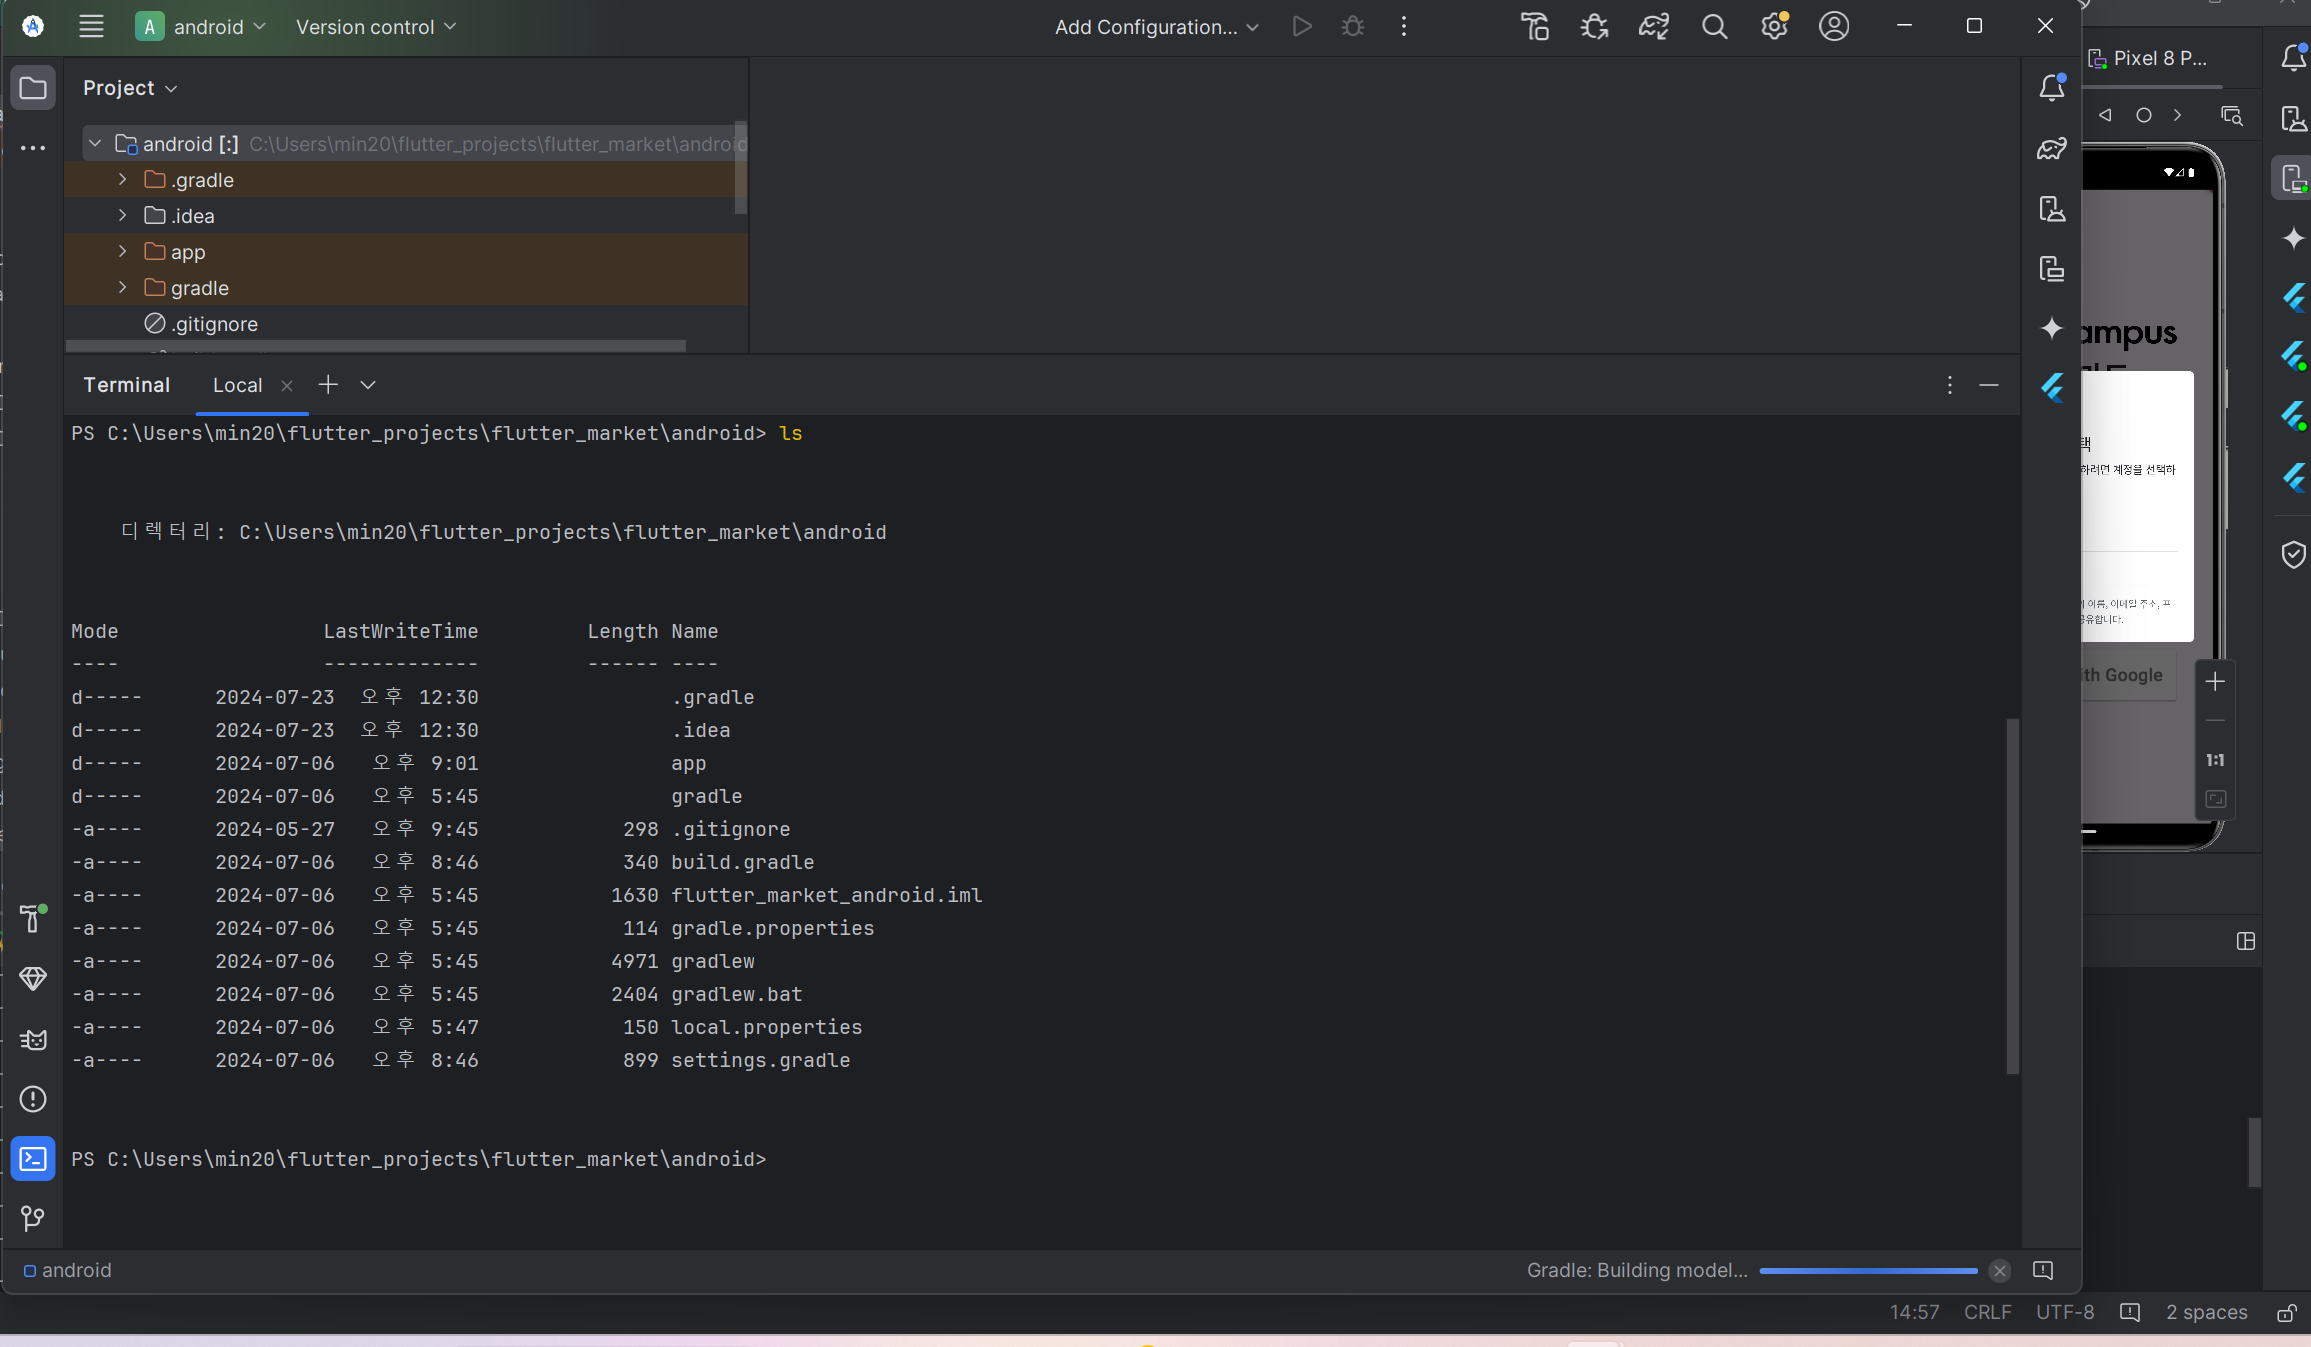
우리가 android 폴더 안으로 들어온 것을 알 수 있다.
터미널을 열고 ls를 입력한다. 이 안에 gradlew를 사용할 것이다.
이때 실행이 안되면
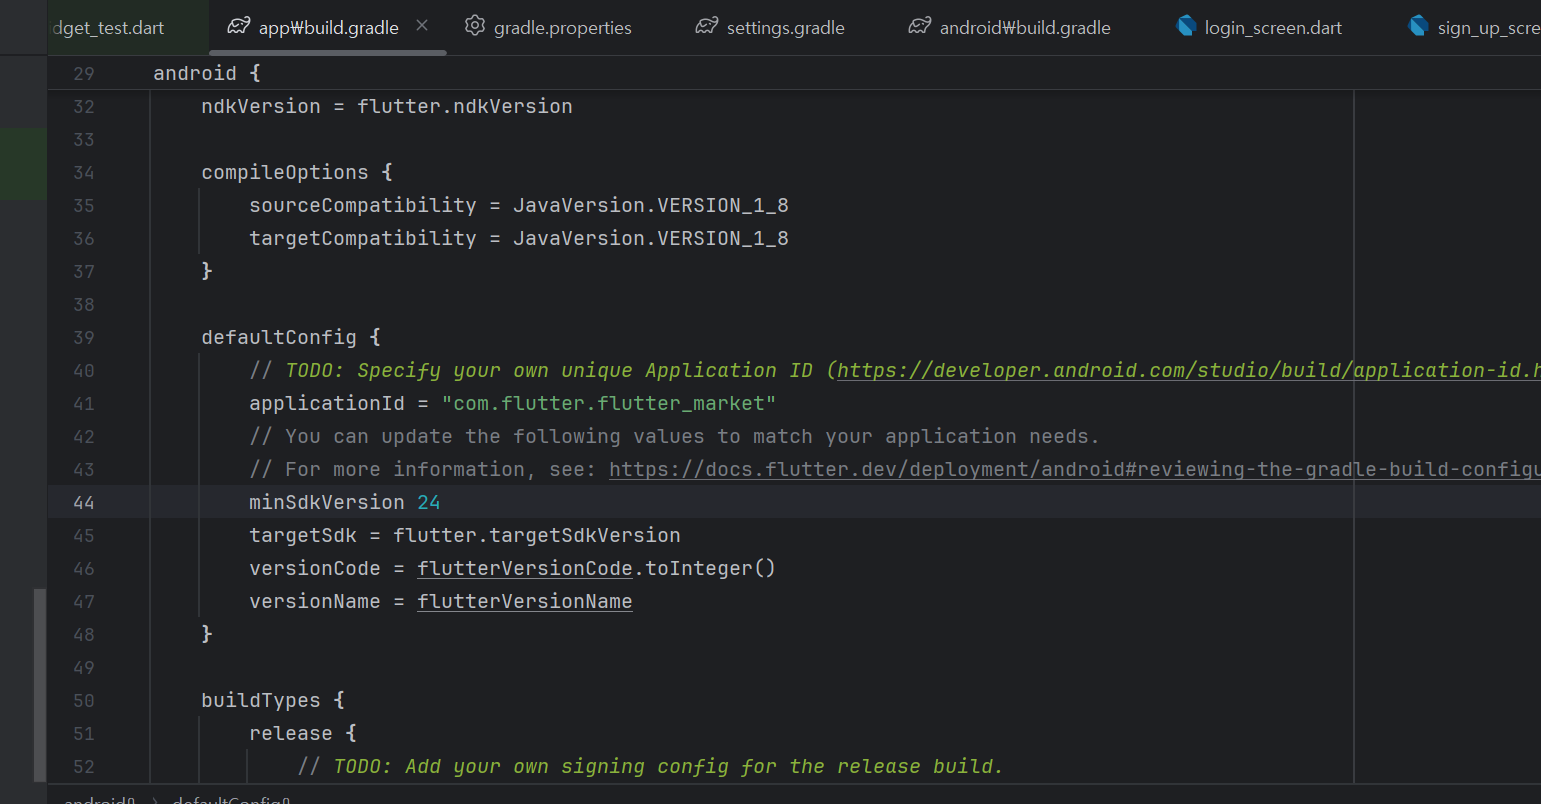
minsdkversion을 24로 바꾸자
아니면 다른 오류로 jdk 버전과 gradle 버전이 맞지 않아서이다.

그럴 땐 위처럼 jdk 버전에 맞는 gradle을 설치하자.
https://docs.gradle.org/current/userguide/compatibility.html
Compatibility Matrix
The sections below describe Gradle’s compatibility with several integrations. Versions not listed here may or may not work.
docs.gradle.org
이 사이트에 들어가면 각 자바 버전에 맞는 gradle을 알 수 있다.
나는 자바 22를 사용하기에 gradle을 8.8로 올렸다.
이후 ./gradlew signingReport를 하면 된다.
이 중에서 sha1 값을 복사하면 된다.

이렇게 값을 파이어베이스에 넣으면 된다.
그리고 google-service.json 파일을 파이어베이스에서 다운받아 안드로이드 스튜디오에 넣는다.
'Flutter' 카테고리의 다른 글
| firebase - 배달앱(12) 판매자 화면 구현 (3) | 2024.07.24 |
|---|---|
| firebase - 배달앱(10) 회원가입 기능 구현 (0) | 2024.07.14 |
| firebase - 배달앱(9) 라우터 구현 & 데이터 모델 구현 (0) | 2024.07.14 |
| firebase - 배달앱(6) 제품 상세 화면 기초 (1) | 2024.07.08 |
| firebase - 배달앱(5) 제품 등록 화면 구현 기초 (0) | 2024.07.07 |


