인증을 콘솔에서 주로 한다.

firebase 페이지에서 프로젝트를 만들었다.

auth에서 시작하기를 한다.
들어가서 이메일/비밀번호를 누르면
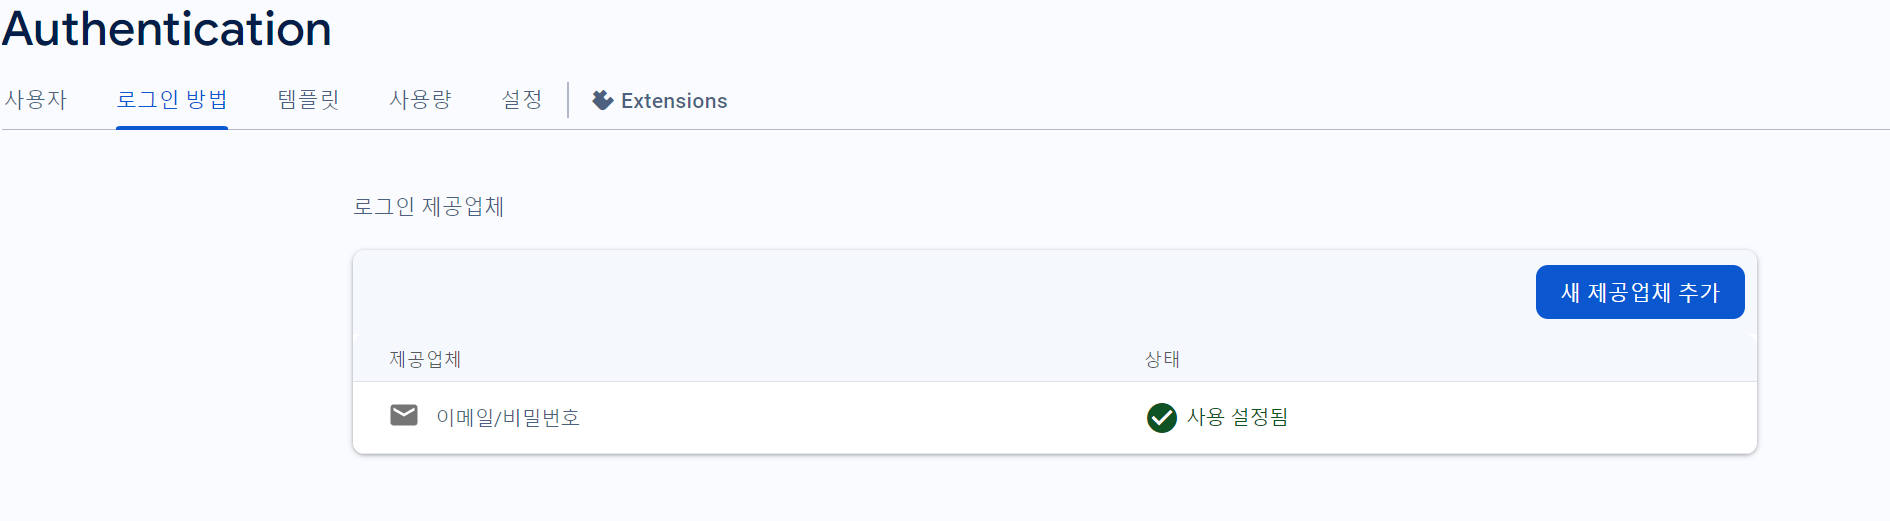
아래처럼 잘 된다.

firebase database도 테스트 모드로 실행시킨다.
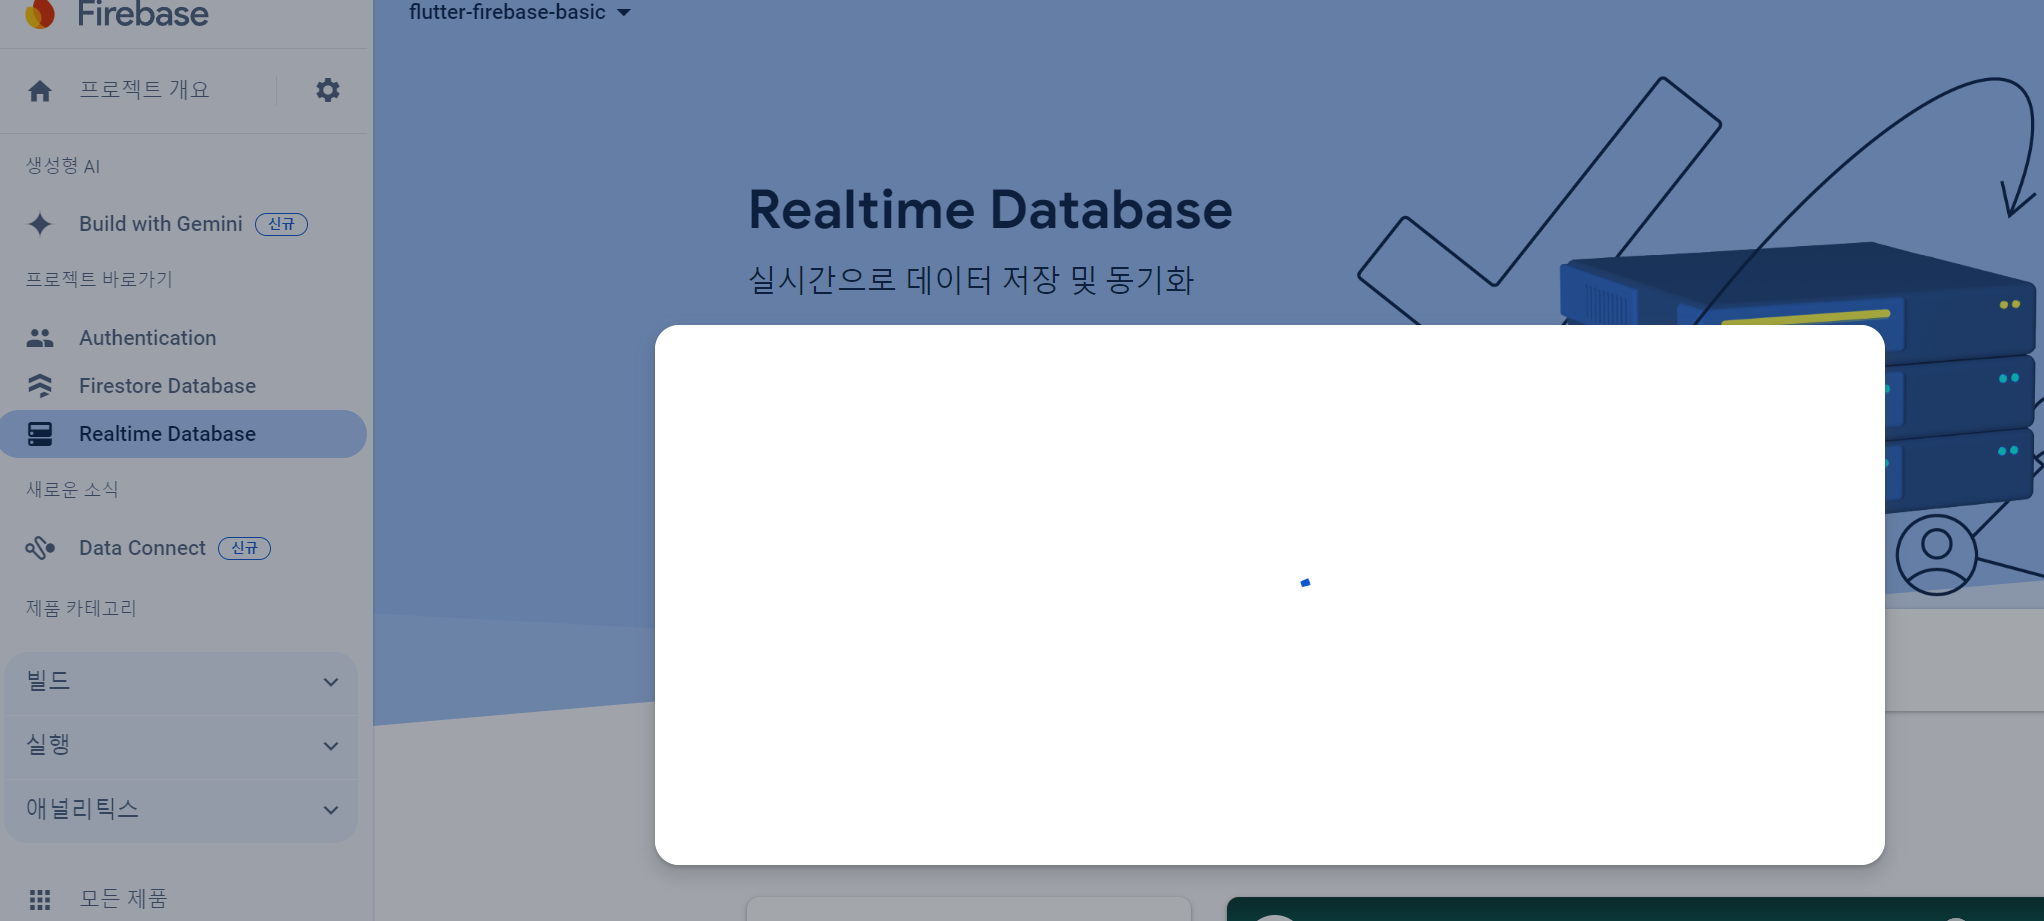
realtime database도 실행하자
이제 플러터 프로젝트를 만들자
프로젝트를 만들고 그 프로젝트 터미널에

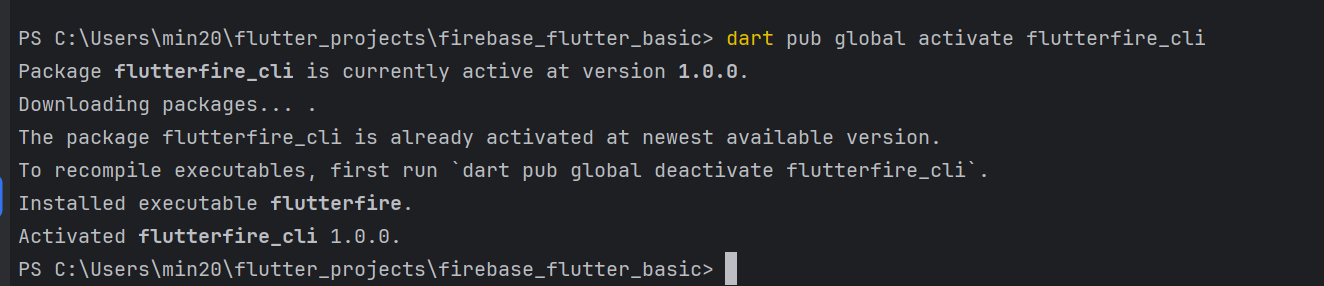
다음 과정을 실행하자.
dart pub global activate flutterfire_cli 입력
그 다음
flutterfire configure --project=flutter-firebase-basic-d2583
도 입력한다.


여기까지하면 firebase-options란 파일이 생긴다.
이제

다음 파란 명령어를 입력한다.
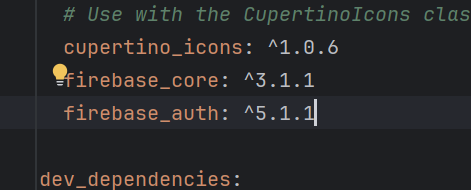
우리는 인증을 할 것이기에

위 내용을 pubspec.yaml에 추가하고 pub get을 하자
이제 아래 과정을 이어하자
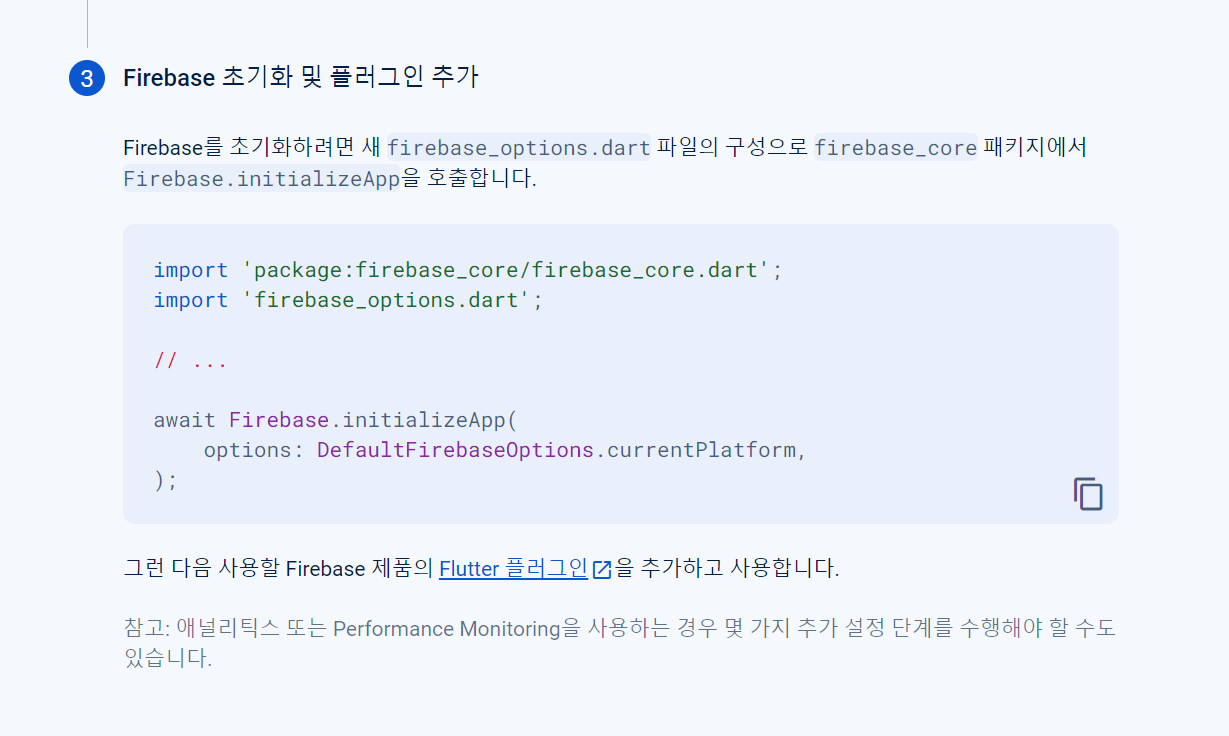
await Firebase.initializeApp(
    options: DefaultFirebaseOptions.currentPlatform,
);
이걸 내 코드에 넣자
main.dart를
void main() async{
  WidgetsFlutterBinding.ensureInitialized();
  await Firebase.initializeApp(
    options: DefaultFirebaseOptions.currentPlatform,
  );
  runApp(const MyApp());
}
위처럼 수정하면 된다.
android/app/build.gradle에
defaultConfig {
    // TODO: Specify your own unique Application ID (https://developer.android.com/studio/build/application-id.html).
    applicationId = "com.example.firebase_flutter_basic"
    // You can update the following values to match your application needs.
    // For more information, see: https://docs.flutter.dev/deployment/android#reviewing-the-gradle-build-configuration.
    minSdkVersion 23
    targetSdk = flutter.targetSdkVersion
    versionCode = flutterVersionCode.toInteger()
    versionName = flutterVersionName
}
다음처럼 minSdkVersion을 23으로 한다.
또한 build.gradle 과 manifest.xml의 패키지를 통일한다.
main.dart를 아래와 같이 수정한 후
빌드한 앱에서 + 버튼을 누르면
import 'package:firebase_auth/firebase_auth.dart';
import 'package:firebase_core/firebase_core.dart';
import 'package:flutter/material.dart';

import 'firebase_options.dart';

void main() async {
  WidgetsFlutterBinding.ensureInitialized();
  await Firebase.initializeApp(
    options: DefaultFirebaseOptions.currentPlatform,
  );
  runApp(const MyApp());
}

class MyApp extends StatelessWidget {
  const MyApp({super.key});

  // This widget is the root of your application.
  @override
  Widget build(BuildContext context) {
    return MaterialApp(
      title: 'Flutter Demo',
      theme: ThemeData(
        colorScheme: ColorScheme.fromSeed(seedColor: Colors.deepPurple),
        useMaterial3: true,
      ),
      home: const MyHomePage(title: 'Flutter Demo Home Page'),
    );
  }
}

class MyHomePage extends StatefulWidget {
  const MyHomePage({super.key, required this.title});

  final String title;

  @override
  State<MyHomePage> createState() => _MyHomePageState();
}

class _MyHomePageState extends State<MyHomePage> {
  @override
  Widget build(BuildContext context) {
    return Scaffold(
      appBar: AppBar(
        backgroundColor: Theme.of(context).colorScheme.inversePrimary,
        title: Text(widget.title),
      ),
      body: Center(
        // Center is a layout widget. It takes a single child and positions it
        // in the middle of the parent.
        child: Column(
          mainAxisAlignment: MainAxisAlignment.center,
          children: <Widget>[
            const Text(
              'You have pushed the button this many times:',
            ),
            ElevatedButton(
              onPressed: () {},
              child: Text('로그인'),
            ),
          ],
        ),
      ),
      floatingActionButton: FloatingActionButton(
        // 비동기 함수라 async 사용
        onPressed: () async {
          try {
            final userCredential = await FirebaseAuth.instance
                .createUserWithEmailAndPassword(
                    email: "flutter@naver.com", password: "123456");
          } on FirebaseAuthException catch (e) {
            if (e.code == "weak-password") {
              print("비밀번호를 변경하시오");
            } else if (e.code == "email-already-in-use") {
              print("이미 등록된 이메일입니다");
            }
          }
        },
        tooltip: 'Increment',
        child: const Icon(Icons.add),
      ), // This trailing comma makes auto-formatting nicer for build methods.
    );
  }
}
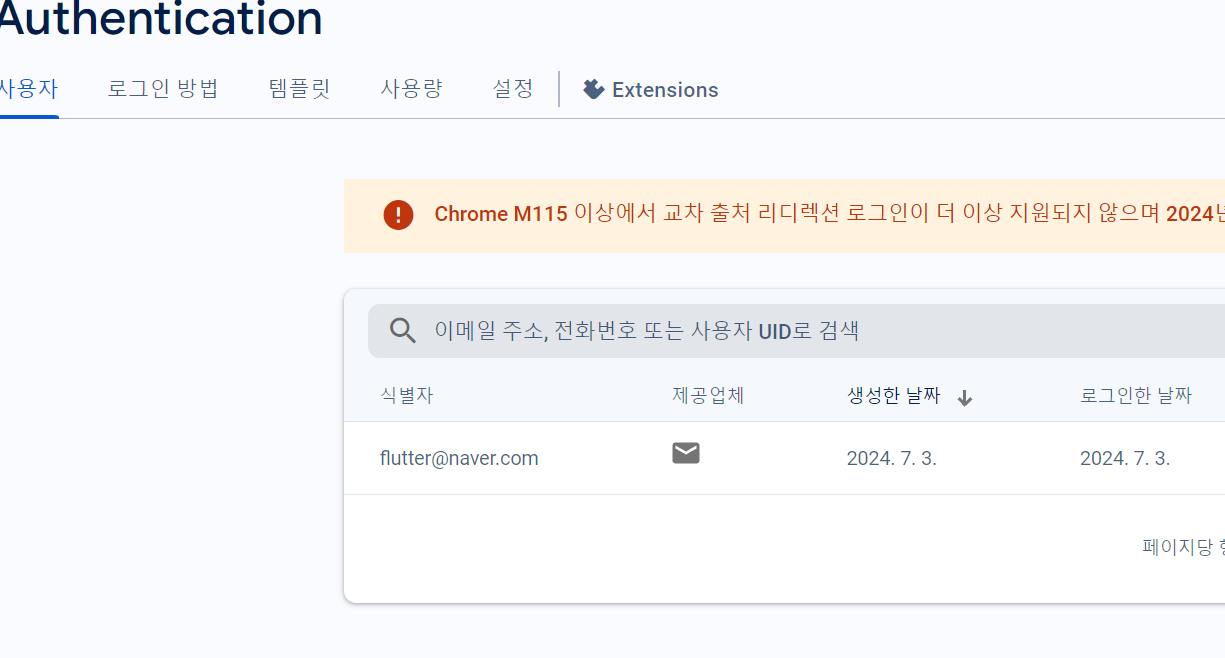
파이어베이스 인증에 아래처럼 뜬다
ElevatedButton(
  onPressed: () async {
    final credential = await FirebaseAuth.instance
        .signInWithEmailAndPassword(
            email: "flutter@naver.com", password: "123457");
    print(credential);
  },
  child: Text('로그인'),
),
로그인 버튼을 누르면 로그인되도록 한다.
이때 패스워드를 일부러 틀리게 작성했다.
이렇게 하면 로그인을 할 때 에러가 난다.
비밀번호를 다시 고치면

이렇게 로그인이 잘 된다.
'Flutter' 카테고리의 다른 글
| firebase - firestore (0) | 2024.07.04 |
|---|---|
| firebase - storage (0) | 2024.07.04 |
| firebase -cli 실습 (0) | 2024.07.02 |
| firebase -cli (0) | 2024.07.02 |
| 플러터 애니메이션 (0) | 2024.06.10 |


